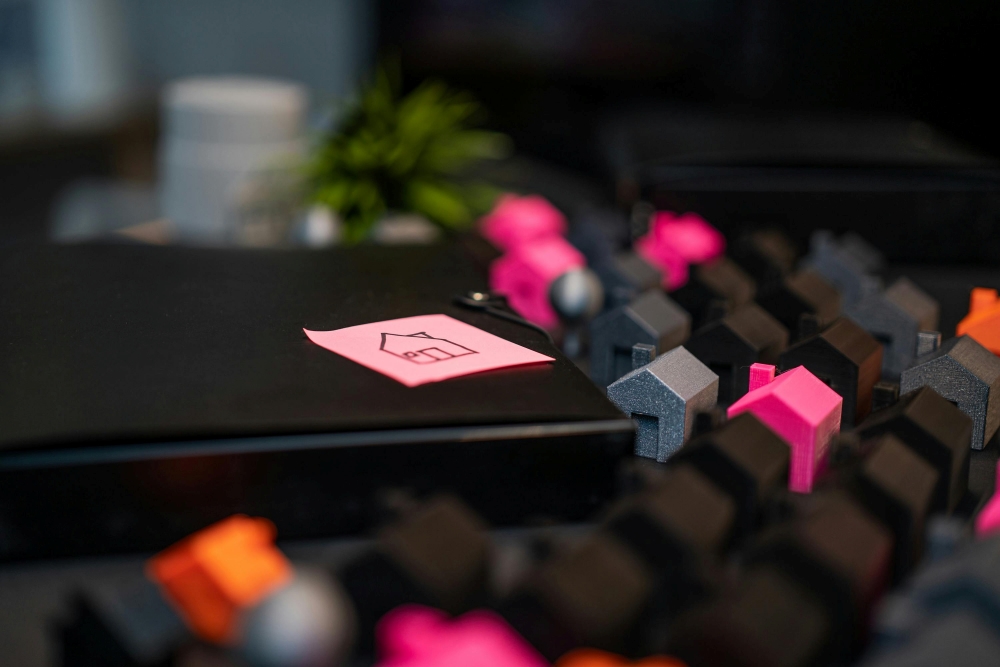
Epoxy is an incredibly versatile and strong adhesive. It is used in a variety of applications ranging from industrial to home improvement projects. In this article, we will look at what epoxy is, how it works, and some of the things you can do with it. We’ll also cover safety tips for using epoxy in your DIY projects so that you can work safely and effectively.
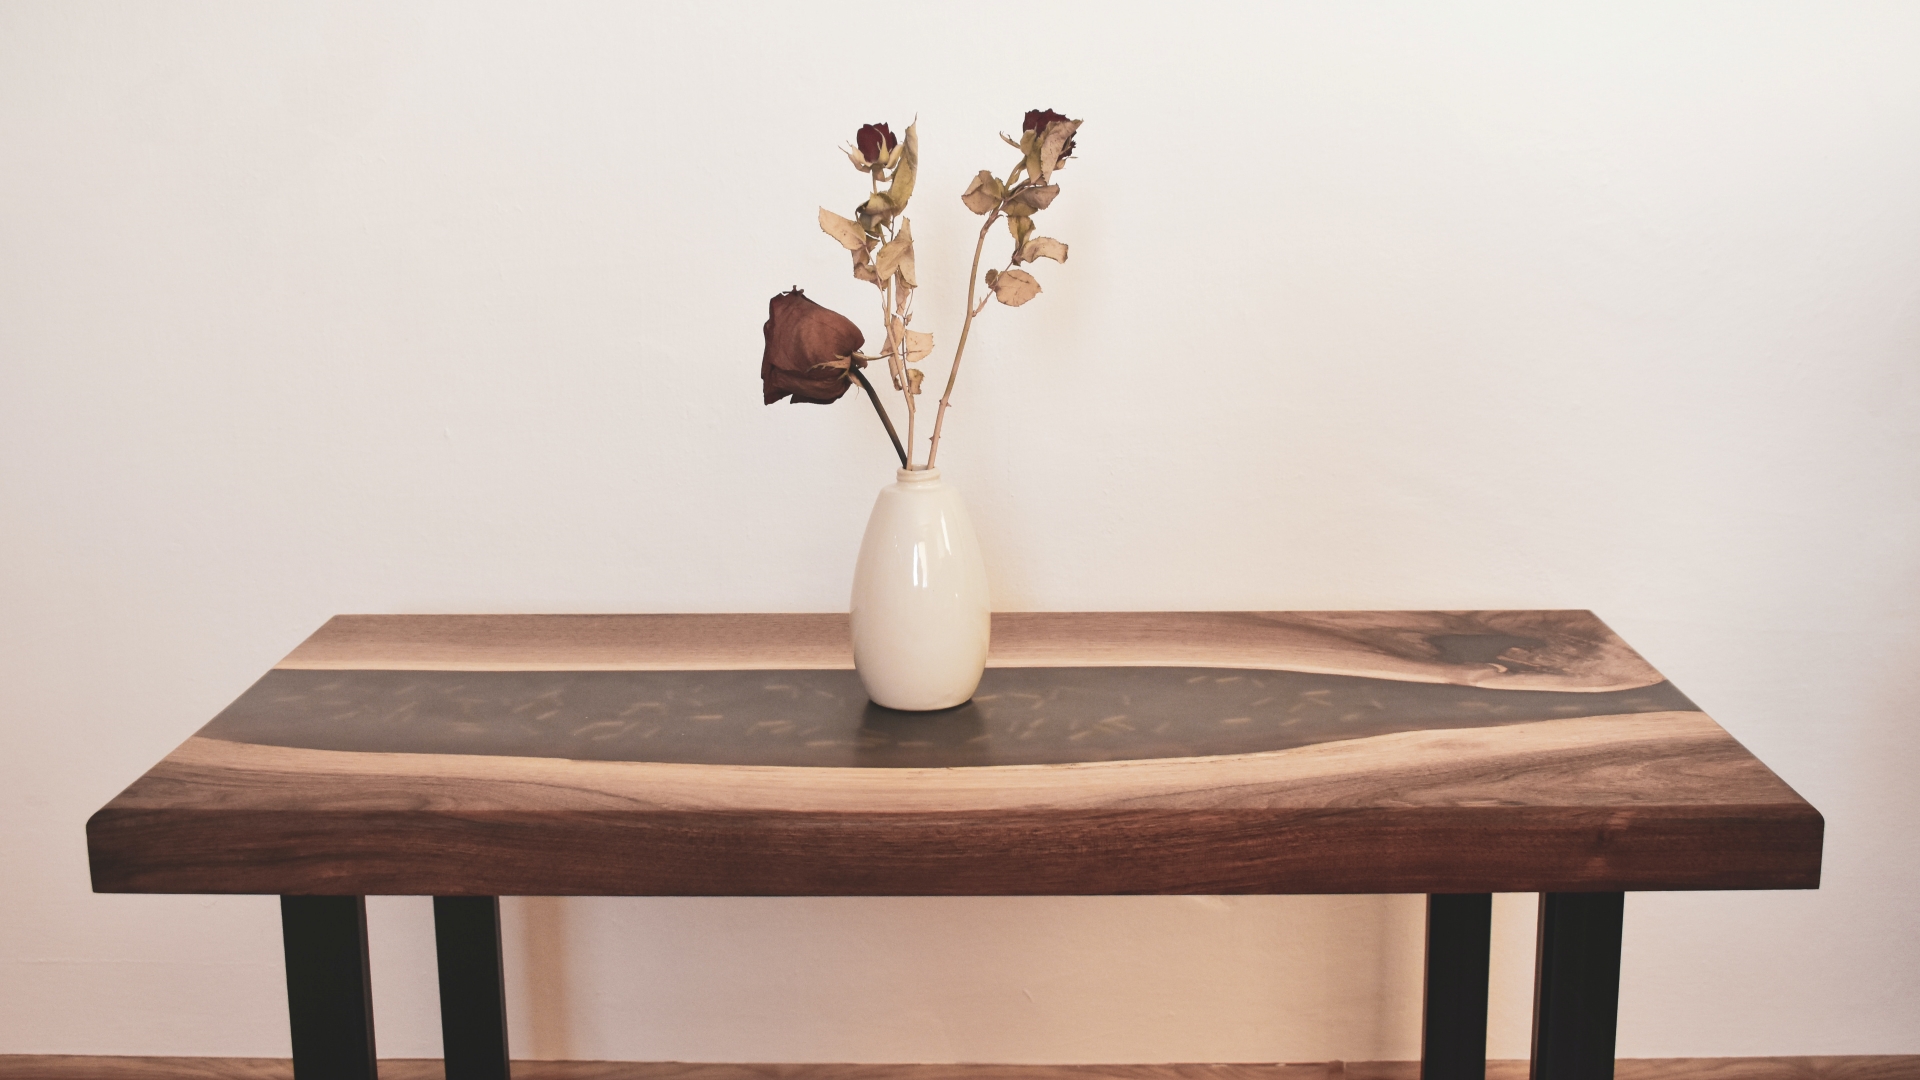
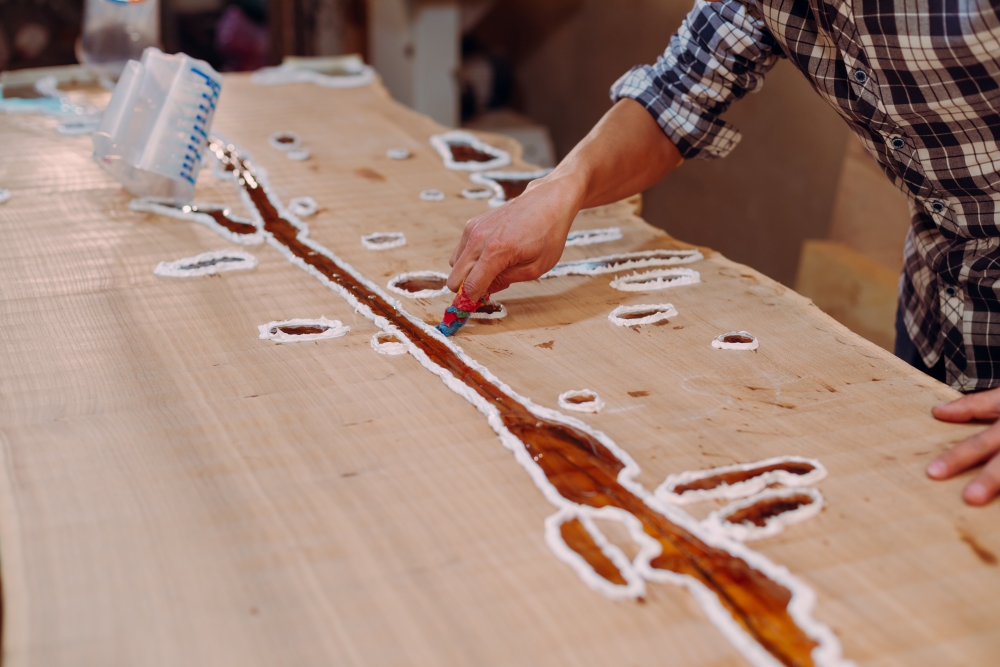
1. Making river tables
River tables are the latest trend in furniture design. They combine artistry with functionality and make a beautiful addition to any home or office space. With epoxy, you can create your unique river table — all you need is some wood, a few tools, and some patience. First, you’ll need to decide on the type of wood to use for your river table.
Many types of wood work well with epoxy—including hardwoods like walnut and mahogany—but it’s important to consider what kind of look you’re going for before choosing one. It’s also essential that the wood is sanded down smoothly so there are no rough edges when applying the epoxy. The epoxy for river tables usually comes in two parts, the resin, and the hardener. Once these are mixed, you’ll need to pour them into the pre-made recess on the table. Using a rubber spatula, you can spread it evenly across the surface and let it sit to dry.
2. Fixing broken glass
Broken glass can be a dangerous problem, and it’s important to fix it as quickly as possible. With epoxy, you can easily make repairs to glass surfaces without having to buy a new piece of glass or hire an expensive professional repair service. Before starting the process, make sure that the area is completely clean.
Any dirt or dust on the surface will prevent the epoxy from sticking properly and could lead to further damage down the line. Then, mix equal parts of resin and hardener in a plastic cup until they form a thick paste-like consistency. Using a popsicle stick or spatula, apply the epoxy directly onto the crack or chip in the glass — making sure not to spread it too far beyond the damaged area. Allow the epoxy to dry for 24 hours before handling or using the glass surface.
3. Sealing aquariums
Aquariums need to be properly sealed to keep out water and keep fish safe from harm. Epoxy is an ideal material for this kind of task because it creates a strong, waterproof seal that won’t warp or degrade over time.
Before sealing your aquarium, make sure that all surfaces are clean and free of dust or other particles. Then mix equal parts resin and hardener until they form an even paste-like consistency. With a rubber spatula, apply the epoxy evenly along the edges of the tank where two pieces of glass meet. Allow the epoxy to dry completely before adding any water to the tank — this can take up to 24 hours depending on how thick your layer of epoxy is. Afterward, you can be sure that your aquarium will stay secure and leak-free for years to come.
4. Filling in cracks
Cracks, chips, and holes often appear in walls, floors, and furniture over time. With epoxy, you can fill them in quickly and easily without having to purchase a new item or hire an expensive professional repair service. Start by making sure the area is clean and free of any dirt or dust particles that could prevent the epoxy from adhering properly. Once everything is clear, mix equal parts resin and hardener until they form a thick paste-like consistency — adding more of either component if necessary. Then use a rubber spatula to apply the epoxy directly into the crack or hole. Allow it to dry for 24 hours before handling or using the surface as usual. By using epoxy, you can fill in any cracks or chips and make sure that they stay filled for years to come.
5. Crafting jewelry
Epoxy is an excellent material for crafting beautiful and unique jewelry pieces — from necklaces to earrings, bracelets, and more! To get started, it’s important to decide what type of material you want to use for your piece. Common materials like wood, acrylic, metal, and gemstones all work well with epoxy. Then mix equal parts resin and hardener in a plastic cup until they form a thick paste-like consistency. With a rubber spatula or popsicle stick, apply the epoxy into the desired shape on a flat surface. Allow it to dry for 24 hours before handling, then use small tools like pliers and scissors to add details or embellishments to your piece. The possibilities are endless when it comes to crafting with epoxy — so get creative and have fun!
6. Tiling a shower
A quality tile job can completely transform a bathroom — but it’s important to make sure that it’s done correctly. To do this, you’ll need epoxy grout. Before beginning the process, measure out your space and purchase the appropriate amount of tiles and grout. Next, prepare the surface by cleaning it thoroughly with soap and water and ensuring that all dirt or dust is removed from the area before applying any grout or tiles.
Then mix equal parts resin and hardener in a plastic cup until they form an even paste-like consistency. With a rubber spatula, apply the grout directly between each tile, making sure to press firmly so that it adheres well to both sides. It’s important to let the grout dry completely before using the shower — this can take up to 24 hours depending on how thick your layer of grout is.
By following these simple steps, you should now have a better understanding of what epoxy is and some creative ways it can be used in DIY projects. With some patience and the right materials, you’ll be able to tackle any project with confidence. Just remember that safety should always be a top priority — wear gloves, read directions carefully, and never mix more than one batch at a time. Now get out there and start experimenting! Good luck!
Do you know someone who might enjoy this article or would find it useful? Share it!