Tired of waiting for a handyman? Ready to tackle those home improvement projects yourself? You can! With the right knowledge and tools, you can transform your living space and save money in the process. This guide equips you with essential tips and tools to become a confident DIY master.

Start Small
Don’t dive headfirst into a bathroom remodel. Begin with smaller, manageable tasks like patching a hole in drywall, painting a room, or replacing a leaky faucet. Success with these builds confidence and hones your skills for bigger projects down the road.
Even these seemingly simple tasks allow you to gain valuable experience with tools, materials, and problem-solving. This hands-on experience becomes the foundation for your future DIY expertise.
Invest in Quality Tools
Here’s where your transformation into a DIY enthusiast truly begins: your toolbox. Avoid the frustration of flimsy screwdrivers that strip screws or hammers with wobbly heads. Investing in quality DIY tools is an investment in your project’s success, your safety, and your overall experience.
To build a core toolbox, consider the following:
The Essentials
Start with basic tools for a solid foundation. First up are tools for demolition and assembly: a claw hammer for driving nails and a set of screwdrivers (flathead and Phillips) in various sizes to handle different fasteners.
Next, ensure precision with a sturdy level to guarantee everything is plumb and square, and a reliable tape measure for accurate measurements.
Finally, round out your essentials with a sharp utility knife for cutting drywall, carpet, and other materials, and a pair of adjustable pliers for gripping, twisting, and pulling.
Quality Over Quantity
Don’t be tempted by overwhelming all-in-one toolkits. Focus on acquiring individual tools from reputable brands known for their durability and craftsmanship. Trusted suppliers like Maupin’s offer a wide range of tools that meet these standards.
Look for features like comfortable, non-slip grips on hammers and screwdrivers, easy-to-read markings on tape measures, and smooth-operating mechanisms on pliers. These seemingly minor details make a big difference in comfort and efficiency during your projects.
Beyond the Basics
As your DIY skills evolve, expand your toolbox with project-specific power tools. A power drill becomes your go-to for tackling tougher tasks like driving screws into tougher materials or drilling holes for anchors.
For intricate cuts in wood, a jigsaw is perfect for crafting countertops or creating decorative elements. Finally, a circular saw makes quick work of straight cuts in lumber, ideal for building shelves or laying down flooring.
Each new tool adds to your capabilities and opens doors to more ambitious projects. This empowers you to transform and personalize your kitchen, or any other part of your home, however you envision.
By investing in the right tools, you set yourself up for success, ensuring every project is easier to complete and meets a higher standard of craftsmanship and durability.
Measure Twice, Cut Once
This age-old adage holds true. Careful measurement is crucial for a successful outcome. A single miscalculation can lead to wasted materials, a less-than-perfect fit, and the need to start over.
Take time to double-check your measurements before cutting anything—wood, fabric, or tile. Precision is key to achieving that professional-looking finish you desire.
Utilize Online Resources
The internet is an invaluable tool for home improvement projects. Online resources can guide you through any home improvement task. Websites, YouTube channels, and online forums offer detailed instructions, troubleshooting tips, and inspiration from other DIY enthusiasts. These platforms often provide step-by-step guides with visuals, making complex projects more approachable.
Don’t overlook niche communities dedicated to specific types of DIY projects. These specialized forums can offer expert advice tailored to your particular task. Additionally, many manufacturers provide online manuals and support for their products, which can be crucial when working with specific tools or materials.
Remember to cross-reference information from multiple sources to ensure accuracy and safety in your DIY tasks.
Don’t Be Afraid to Ask for Help
Even seasoned DIYers face challenges. Reach out to friends, family, or experienced neighbors when you’re stuck. Local hardware store professionals can offer valuable advice on tools and materials, potentially saving you time and frustration.
Consider joining local DIY groups or workshops to expand your network and skills. These connections can provide hands-on assistance and might even lead to tool-sharing opportunities.
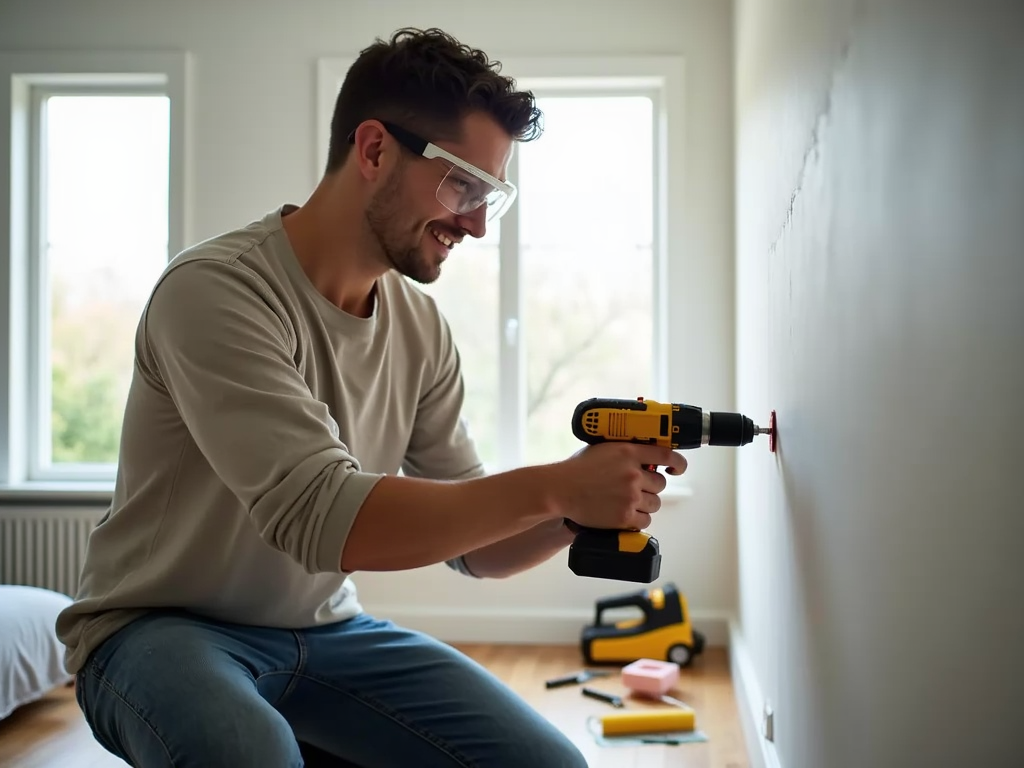
Put Safety First, Always
Safety should never be an afterthought. Always read and follow tool instructions carefully, and wear appropriate protective gear like safety glasses, gloves, and knee pads. Create a safe work environment by keeping your area clean and well-lit, and never rush through tasks.
Know your limits and don’t hesitate to call in professionals for complex or dangerous jobs, especially those involving electricity or structural changes. Stay up-to-date on safety practices through reputable sources and always have a first aid kit nearby. Prioritizing safety ensures your DIY journey remains enjoyable and incident-free.
Practice Patience
Embrace the learning process in your DIY adventures. Mistakes are inevitable and offer valuable lessons. When faced with challenges, take a step back, reassess, and approach the problem with fresh eyes. Remember that even experienced DIYers encounter setbacks.
Break larger projects into smaller, manageable tasks to maintain motivation. Acknowledge each milestone, no matter how small. This approach helps build confidence and keeps frustration at bay. With time and practice, you’ll develop the skills and intuition to tackle more complex projects.
Clean Up as You Go
Maintaining a tidy workspace is essential for efficient and safe DIY work. Regularly clear away debris, put tools back in their designated spots, and wipe down surfaces. This practice prevents accidents, saves time searching for items, and makes the final cleanup less daunting.
Organize your tools and materials before starting each work session. Use labeled containers or a pegboard system to keep everything easily accessible. A clean workspace improves productivity and makes projects more enjoyable and less stressful.
Celebrate Your Accomplishments
Once you’ve completed a project, take a moment to appreciate your accomplishment! Take before-and-after photos to showcase your hard work. These visual records serve as tangible proof of your skills and can inspire future projects. Share your successes on social media or with friends to gain encouragement and potentially helpful feedback.

Reflect on the skills you’ve gained and challenges you’ve overcome. Each completed project builds your confidence and expands your DIY repertoire. Consider creating a portfolio of your work, which can be useful if you ever decide to pursue DIY as more than a hobby.
Parting Words
Mastering home improvement as a DIYer combines creativity, problem-solving, and hands-on skills. By following these tips and using the right tools, you can transform your space while saving money and gaining expertise. Every project contributes to your growth as a DIY enthusiast.
Stay curious and open to learning as you tackle new tasks. Embrace successes and setbacks as opportunities for improvement. With patience and persistence, home improvement becomes not just a practical skill, but a fulfilling hobby. Your home will reflect your personal touch, and you’ll gain confidence to take on increasingly challenging projects.
Do you know someone who might enjoy this article or would find it useful? Share it!