In the realm of childhood, few things capture the imagination, quite like a playhouse nestled in the garden. A sanctuary for make-believe adventures, a well-designed playhouse can be a source of endless joy for children and a charming addition to your outdoor space. In this blog post, we’ll explore the delightful journey of creating and decorating a playhouse in your garden, turning it into a magical haven for your little ones.
Step 1: Designing the Dream Playhouse
The first step in this enchanting endeavor is to envision the perfect playhouse. Consider the size of your garden, the age of your children, and the theme that would resonate with their interests. Whether it’s a fairy-tale castle, a pirate ship, or a cozy cottage, the design should reflect the whimsy and wonder of childhood.
Start by sketching a rough layout, incorporating features like windows, a door, and a small porch if space allows. Consider practical elements, such as proper ventilation and easy access, while ensuring the structure is safe and sturdy. You might also involve your little ones in the design process, encouraging them to share their ideas and preferences.
Step 2: Construction Magic
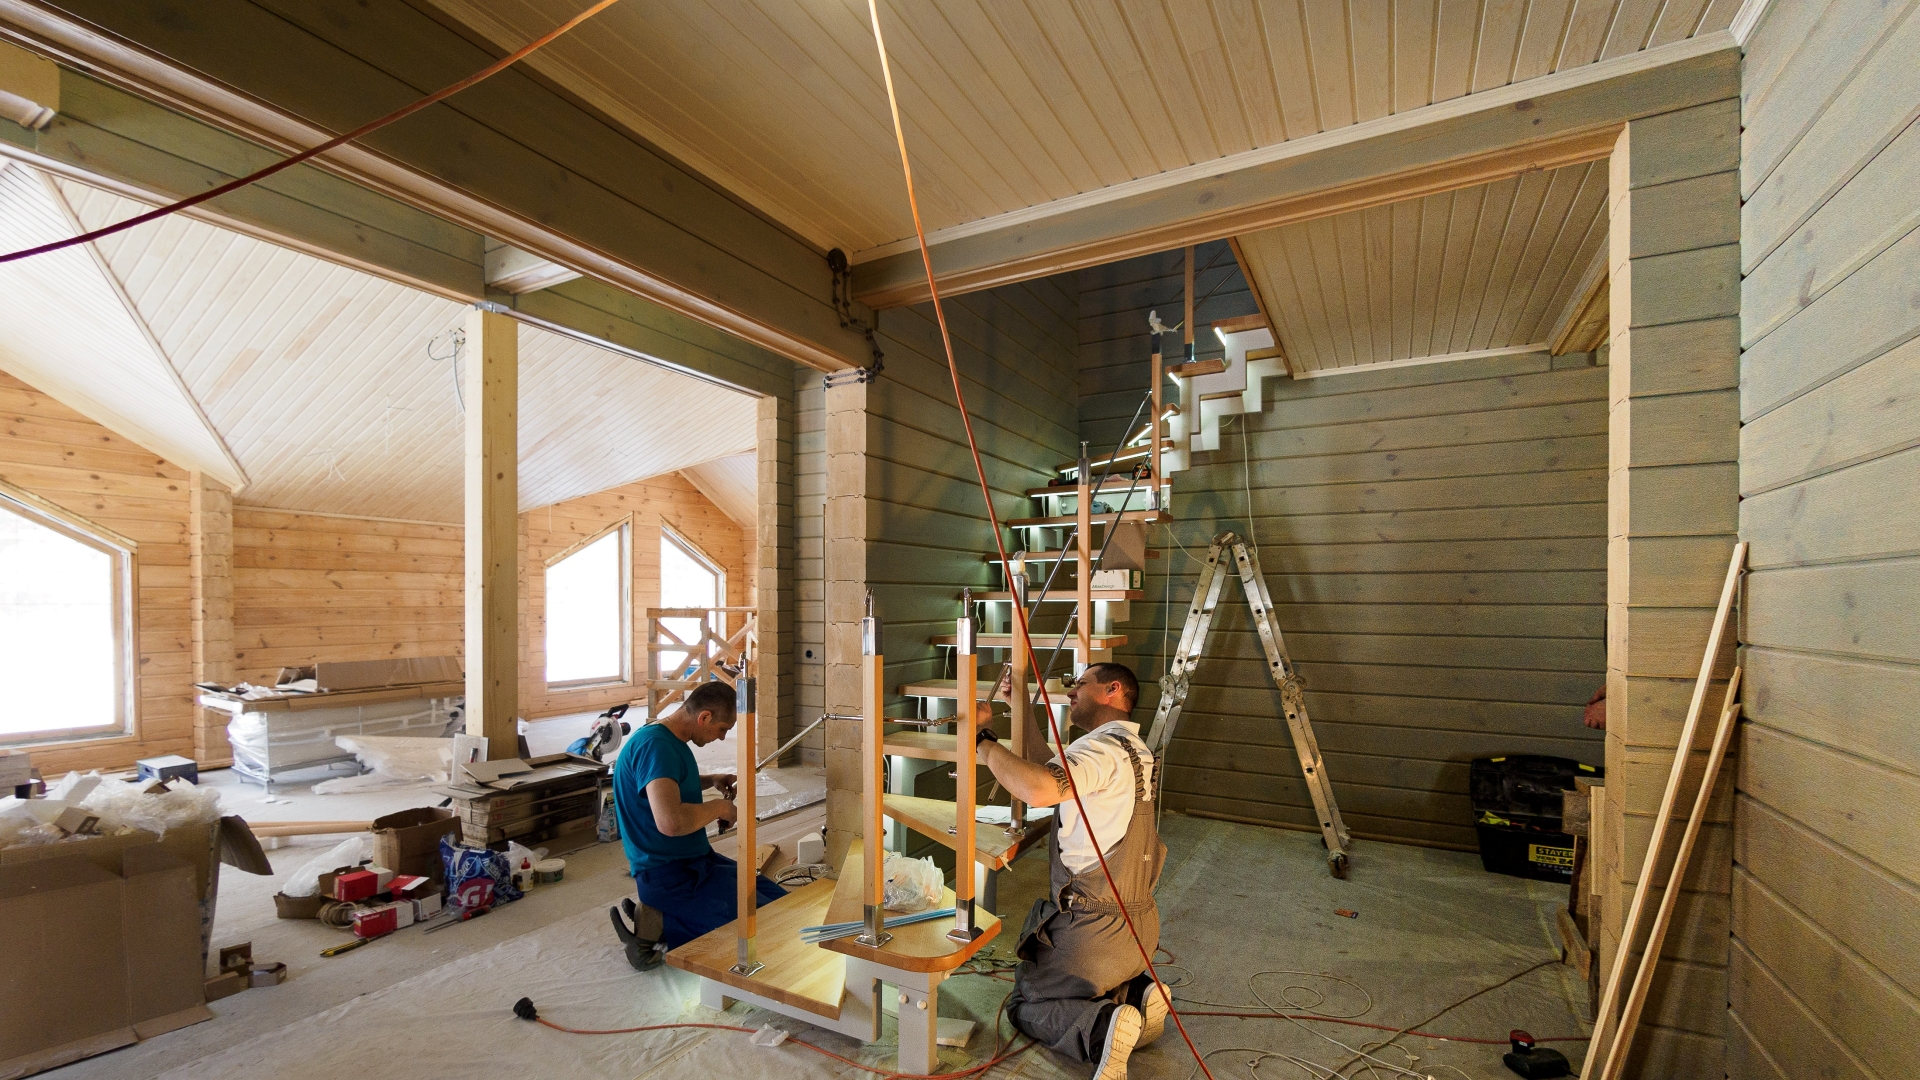
Once the design is finalized, it’s time to bring the playhouse to life. Depending on your DIY skills and time commitment, you can choose between pre-fabricated kits, hiring a professional builder such as from ukgardenbuildings.co.uk, or embracing the challenge of a DIY project. Whichever path you choose, ensure that the materials used are durable and weather-resistant, guaranteeing years of imaginative play.
If you opt for a DIY approach, enlist the help of friends or family members for a fun and collaborative construction experience. Remember to follow safety guidelines and local building regulations to ensure the playhouse is charming and secure.
Step 3: Painting and Personalizing
Now comes the truly magical part – transforming the blank canvas of the playhouse into a burst of colors and creativity. Choose a palette that complements your garden and reflects the chosen theme. Let your imagination run wild, whether it’s pastel hues for a fairy-tale cottage or bold, adventurous colors for a pirate ship.
Encourage your children to participate in painting, turning the playhouse into a collaborative masterpiece. Add whimsical details like flowers, stars, or a personalized nameplate. Don’t forget the interior – a splash of color, perhaps a chalkboard wall for doodling, can turn the playhouse into an immersive world of fun.
Step 4: Furnishing the Wonderland
Now that the exterior is a visual delight, it’s time to focus on the interior. Select child-friendly and age-appropriate furnishings that enhance the playhouse experience. Soft cushions, vibrant rugs, and small-scale furniture can transform the space into a cozy retreat.
Consider adding shelves for books, art supplies, or toys, fostering a sense of ownership for your little ones. If space permits, a small table and chairs make for a perfect spot for tea parties or creative projects. The goal is to create a space that sparks the imagination and is comfortable and inviting.
Conclusion
Creating and decorating a playhouse in your garden is a labor of love that yields priceless moments of joy and creativity. It’s a testament to the magical power of childhood, where imagination knows no bounds, and every corner is filled with possibilities. By investing time, effort, and a sprinkle of creativity, you’re not just building a playhouse – you’re crafting a haven of memories that will last a lifetime. So, grab your paintbrushes, gather the family, and embark on the enchanting journey of bringing a garden playhouse to life. The smiles on your children’s faces will be the most rewarding masterpiece of all.
Do you know someone who might enjoy this article or would find it useful? Share it!